Redshift
Connect to a Redshift database in AirOps
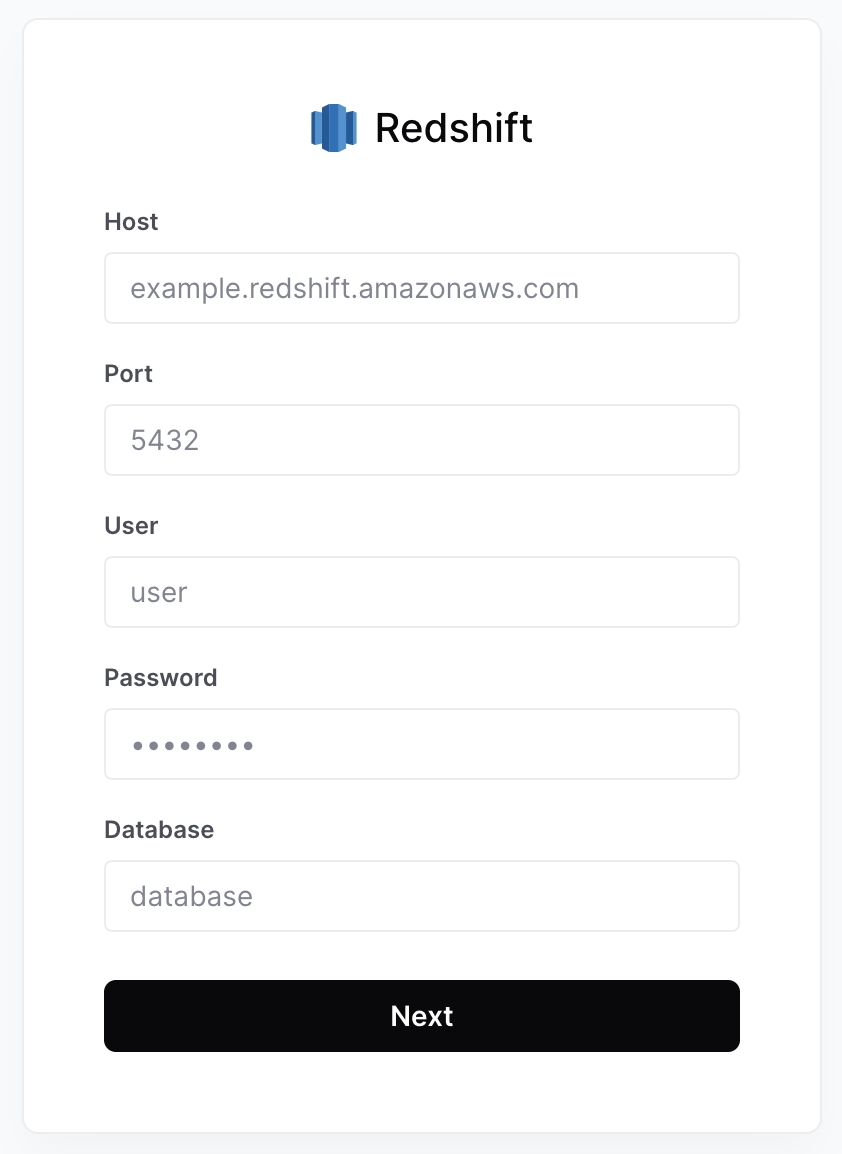
Host or IP - The endpoint of your AWS Redshift cluster. Example:
examplecluster.abcdefghijkl.us-west-2.redshift.amazonaws.comPort - The port on which your Redshift cluster is listening. Default is
5439.User - The Redshift user that AirOps will connect to the database with. It is best practice to create a new user for AirOps (instructions below), but any user with SELECT privileges can be used.
Password - Password for the above user.
Database - The Redshift database that AirOps will connect to.
Setup User and Grant Access (for New Users)
To add an AWS Redshift database as a Data Source on AirOps, use an existing user or create a user with read access to the tables and schemas you would like to access from AirOps:
1. Create AirOps User
CREATE USER airops_user
PASSWORD '<secure-password>';
2. Grant USAGE and SELECT privileges to AirOps user
Replace <schema> and <table> with the appropriate schema and table names that you would like AirOps to interact with.
GRANT USAGE ON SCHEMA "<schema>" TO airops_user;

GRANT SELECT ON TABLE "<schema>"."<table>" TO airops_user;
If you want to grant access to multiple tables, you can run the GRANT SELECT statement for each table.
3. (Optional) Grant access to future tables in the schema
If you want to grant access to all future tables in a schema, you can use the following command. Replace with the appropriate schema name.
ALTER DEFAULT PRIVILEGES IN SCHEMA "<schema>"
GRANT SELECT ON TABLES TO airops_user;
Last updated
Was this helpful?