> For the complete documentation index, see [llms.txt](https://docs.airops.com/llms.txt). Markdown versions of documentation pages are available by appending `.md` to page URLs; this page is available as [Markdown](https://docs.airops.com/your-workspace/team.md).
# Access and Permissions
Manage and invite team members
## Permissions on AirOps
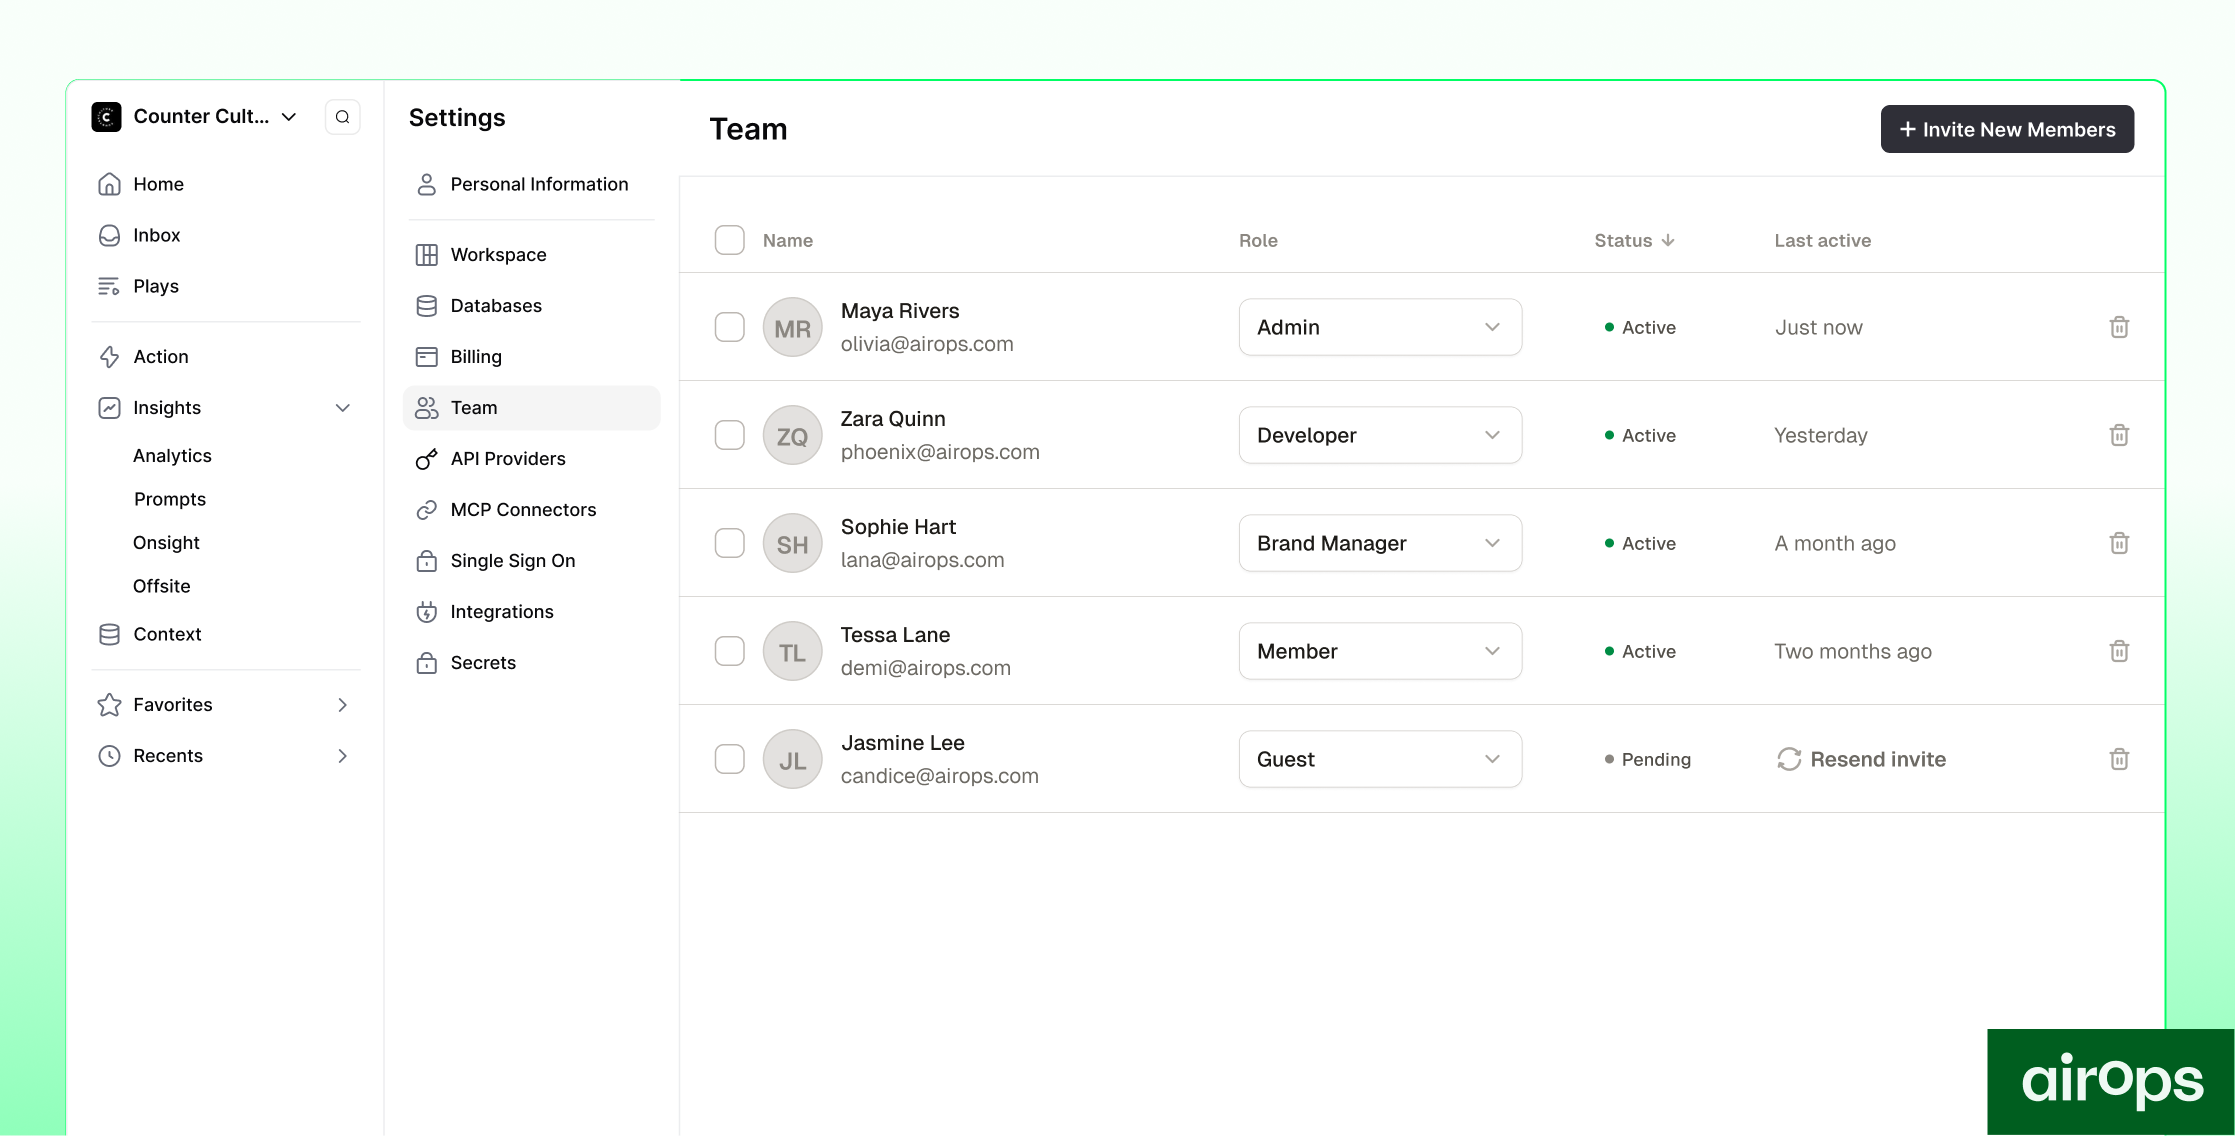
AirOps offers five roles, each scoped to what a teammate needs to do:
* **Admin:** Full, unrestricted workspace control, including members, billing, and workspace settings.
* **Developer:** Build and run Actions, manage integrations and secrets. Views Brand Kits.
* **Brand Manager:** Manage Brand Kits and Knowledge Bases. Can run and view Workflows and Playbooks, but cannot edit them.
* **Member:** Build and run Actions, edit Grids and Knowledge Bases. Views Brand Kits.
* **Guest:** Grid-only access for contractors and reviewers, with no other workspace access.
### What each role can do
The table below summarizes access by area. **Full** means view and edit, **View only** means read access without editing, and a dash means no access.
| Capability | Admin | Developer | Brand Manager | Member | Guest |
| ------------------------- | ----- | --------- | ------------- | --------- | ----- |
| **Content & building** | | | | | |
| Workflows | Full | Full | View only | Full | - |
| Playbooks | Full | Full | View only | Full | - |
| Grids | Full | Full | Full | Full | Full |
| Run Actions | Full | Full | Full | Full | - |
| Prompts & Analytics | Full | Full | Full | View only | - |
| AI Ads | Full | View only | View only | View only | - |
| **Brand context** | | | | | |
| Brand Kits | Full | View only | Full | View only | - |
| Knowledge Bases | Full | Full | Full | Full | - |
| **Integrations** | | | | | |
| Integration configuration | Full | Full | View only | View only | - |
| Secrets & API keys | Full | Full | - | - | - |
| **Workspace management** | | | | | |
| Team management | Full | View only | View only | View only | - |
| Usage & billing | Full | View only | View only | View only | - |
| SSO configuration | Full | - | - | - | - |
{% hint style="info" %}
These permissions are enforced everywhere, not just in the web app. The same role-based access applies through Quill and MCP.
{% endhint %}
### Which roles are available on my plan?
The roles you can assign depend on your workspace plan. Higher plans unlock more granular roles.
| Plan | Available roles |
| ---------- | ---------------------------------------------- |
| Solo | Admin |
| Pro | Admin, Member |
| Enterprise | Admin, Developer, Brand Manager, Member, Guest |
### Custom Roles
Enterprise workspaces can build roles from scratch when the five fixed roles don't fit. A custom role grants access area by area, using the same capability areas as the table above.
To build one, go to **Settings → Roles** and select **Create role**, then name it and set access for each area:
* **No access**
* **View only**
* **View & run:** available on Workflows and Playbooks only.
* **Full:** not available for Team management, which always requires Admin.
Once created, a custom role is enforced the same way as fixed roles, including through Quill and MCP.
{% hint style="warning" %}
You can't delete a custom role while it's assigned to a member or referenced by a pending invitation. Reassign or remove those members, and cancel any pending invitations using the role, before deleting it.
{% endhint %}
## How do I invite new team members?
Navigate to :gear: **Settings → Team** to manage existing and invited users within your Workspace. When inviting a teammate, choose the role that matches what they need to do. The invite dialog shows a summary of each role's access as you select it.
###
---
# Agent Instructions
This documentation is published with GitBook. GitBook is the documentation platform designed so that both humans and AI agents can read, navigate, and reason over technical content effectively. Learn more at gitbook.com.
## Querying This Documentation
If you need additional information that is not directly available in this page, you can query the documentation by asking a question.
Perform an HTTP GET request on the following URL with the `ask` and `goal` query parameters:
```
GET https://docs.airops.com/your-workspace/team.md?ask=&goal=
```
`ask` is the immediate question: it should be specific, self-contained, and written in natural language.
`goal` is what the user is ultimately trying to achieve, the reason they need the answer. Sharing it helps GitBook give you a better, more relevant answer. A goal is most helpful when it describes the outcome the user wants rather than restating the question. For example, with `ask=how do I create an API token`, a goal like `automate deployments from our CI pipeline` lets GitBook tailor the answer to that use case.
The response will contain a direct answer to the question and relevant excerpts and sources from the documentation.
Use this mechanism when the answer is not explicitly present in the current page, you need clarification or additional context, or you want to retrieve related documentation sections.